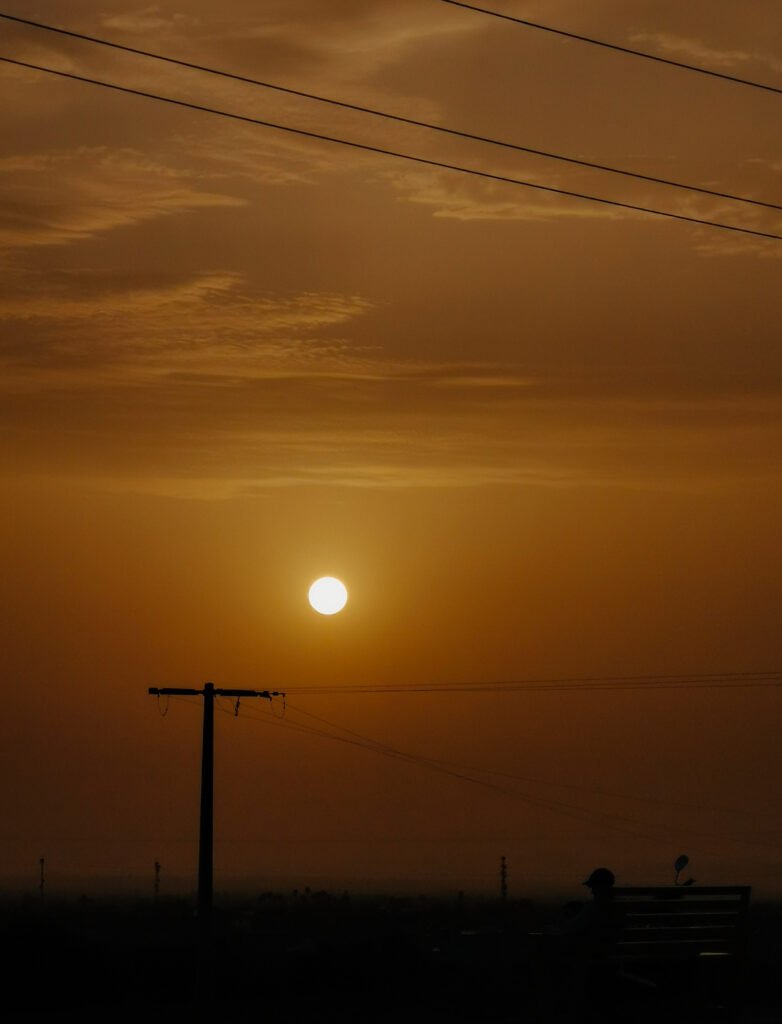
Golden hour is a photographer‘s paradise—a brief yet captivating period just after sunrise or before sunset when the sun bathes everything in a warm, soft light. This golden glow enhances colors, creates dramatic shadows, and adds a magical quality to any scene, making it the ideal time for capturing breathtaking photographs. Whether you’re a seasoned professional or an enthusiastic amateur, mastering golden hour photography can elevate your work. Here’s how to make the most of this enchanting time of day.
1. Understanding Golden Hour
Golden hour isn’t a fixed 60 minutes; it varies based on location, season, and weather. Typically, it occurs during the first hour after sunrise and the last hour before sunset. During this time, the sun is low in the sky, and its light is filtered through the atmosphere, producing a soft, golden hue that’s perfect for photography.
2. The Unique Qualities of Golden Hour Light
Photographers cherish golden hour for several key reasons:
3. Preparing for Your Golden Hour Shoot
Preparation is crucial, as golden hour is fleeting and the light changes rapidly.
4. Techniques for Capturing Stunning Golden Hour Photos
Golden hour offers limitless creative potential. Here are some techniques to help you make the most of it:
Backlighting: Position your subject with the sun behind them to create a halo effect, where light wraps around the subject, giving a soft, ethereal glow. This technique works well for portraits, landscapes, and macro photography.


Silhouettes: Use the contrast between the bright sky and a darker subject to create striking silhouettes. This works best when your subject has a distinct shape that stands out against the sky.
Lens Flare: Embrace lens flare by shooting directly into the sun. While usually avoided, lens flare during golden hour can add a dreamy, artistic touch to your photos.


Side Lighting: Position the sun to the side of your subject to create long shadows and emphasize texture. This is particularly effective in landscape photography, where side lighting can highlight the contours of the terrain.
Reflections: Golden hour light is ideal for capturing reflections in water. The soft light and warm colors can create mirror-like images that are both serene and captivating.

5. Post-Processing: Enhancing Golden Hour Photos
Golden hour naturally enhances your photos with its warm tones and soft light, but post-processing can help you refine and polish your images.
Conclusion
Golden hour is a magical time that can turn ordinary scenes into extraordinary images. By understanding its unique qualities, preparing in advance, and applying creative techniques, you can capture stunning photos that evoke emotion and tell a story. Whether you’re photographing people, landscapes, or everyday moments, the warm, soft light of golden hour will help you create images that truly stand out. With practice and experimentation, you’ll soon master golden hour photography, transforming fleeting moments into timeless memories
For more tips and insights, visit my blog at Life by Lens.


